
To find mathematical illustrations that can reach a broad audience and resonate with people whose experiences do not include formal mathematical training, look toward arts, crafts, and other activities that have drawn on mathematics even though their original motivations were not mathematical.
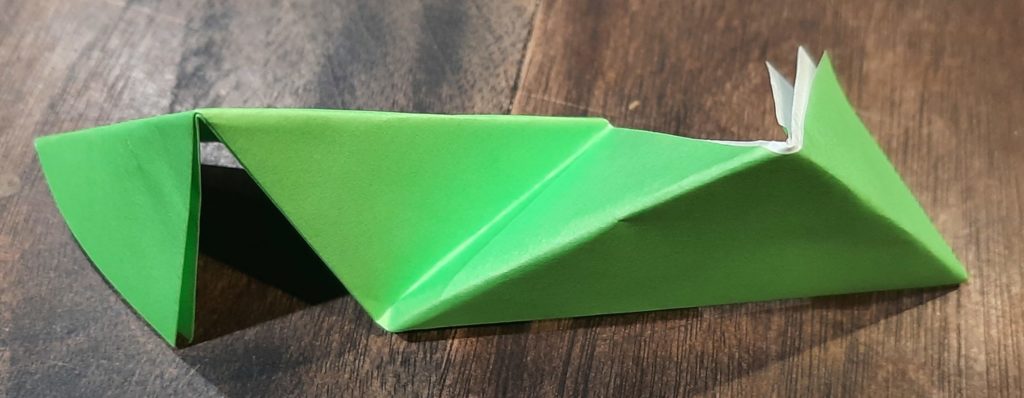
Modular origami (see an example at left) provides an excellent example: an offshoot of traditional paper-folding crafts, it has embraced, and provided elegant representations of, a large array of geometric phenomena. For example, the “Phizz Unit,” pictured at right, allows construction of any roughly equilateral polyhedron with only pentagonal and hexagonal faces, and so serves as an excellent vehicle for discussions around why there seem always to be twelve pentagons and about Euler’s formula and what numbers of hexagons are possible.
However, one drawback to using modular origami in general-audience presentations is the time required for generating the basic units before the “fun part” of seeing how they fit together begins. The recently-developed sophistication of the “electronic craft cutter” market substantially alleviates this problem. Essentially any modular origami unit can be converted to a flat cut-and-scored sheet which these machines can automatically produce in significant quantity.
This plenary session of the Illustrating Math week at PCMI provides an opportunity for our community — together and in parallel — to physically explore the possibilities afforded by this type of “modular origami, without the origami.” After the building activity, the facilitator and anyone who would like to join will return to the main conference platform for informal socializing.
Official participants in the week should soon receive a packet of construction pieces inspired by the Phizz unit. (Other people who’d like to be involved hands-on with Modular Origami can see their options at the end of this post.) To get the most out of our session, you’re strongly encouraged to do just a little bit of advance preparation. The packet includes 90 pieces (18 each of five colors), enough to construct any pent/hex polyhedron with 20 or fewer hexagons. So choose such a polyhedron to be your personal target; the table below shows a variety of options, but there are numerous others you can find and all are welcome. You may want to print out its skeleton and label the edges with the colors you intend to use for them. The pieces overlap at the vertices and their colors mix, so I find that having three all different or all the same colored edges meeting at a vertex looks best, but you are welcome to try any scheme you like! (Note there’s one other important preparatory step below the table.)
Pentagon-Hexagon polyhedra
Of course the zero-hexagon polyhedron (regular dodecahedron) uses the fewest pieces, so is quickest from that perspective, but the pentagons are a bit more strained and can get a bit cramped for maneuvering your hands, so spreading them out with some amount of hexagons can make the construction go a bit more smoothly. The models with lots of hexagons will definitely take longer to assemble overall, even so. Click on any “frame” image for an animated rotating model; click on a “faces” image to enlarge.
| # of Hexagons | Known As | # of Edges (pieces required) | Frame View | Faces View | Description |
|---|---|---|---|---|---|
| 0 | Regular Dodecahedron | 30 |  | 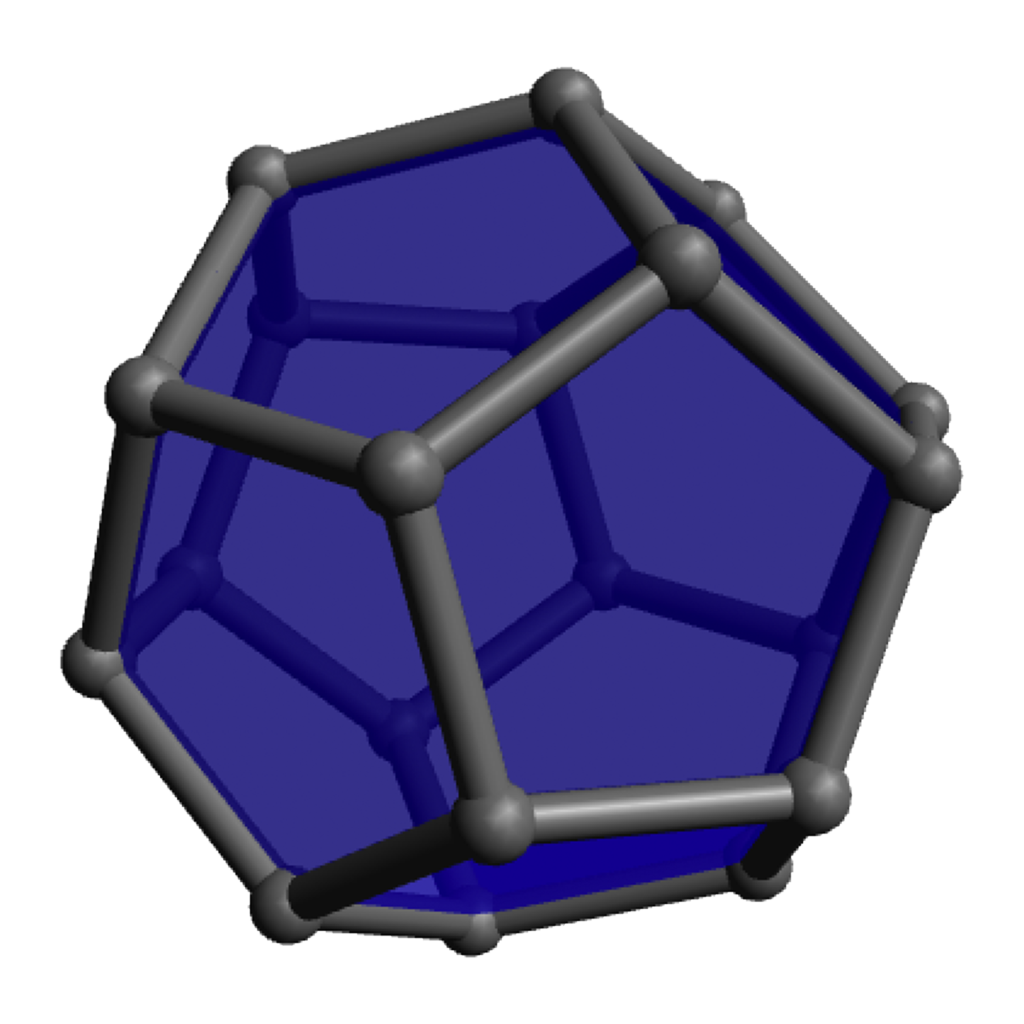 | 12 pentagons connected |
| 2 | Hexagonal Truncated Trapezohedron | 36 |  | 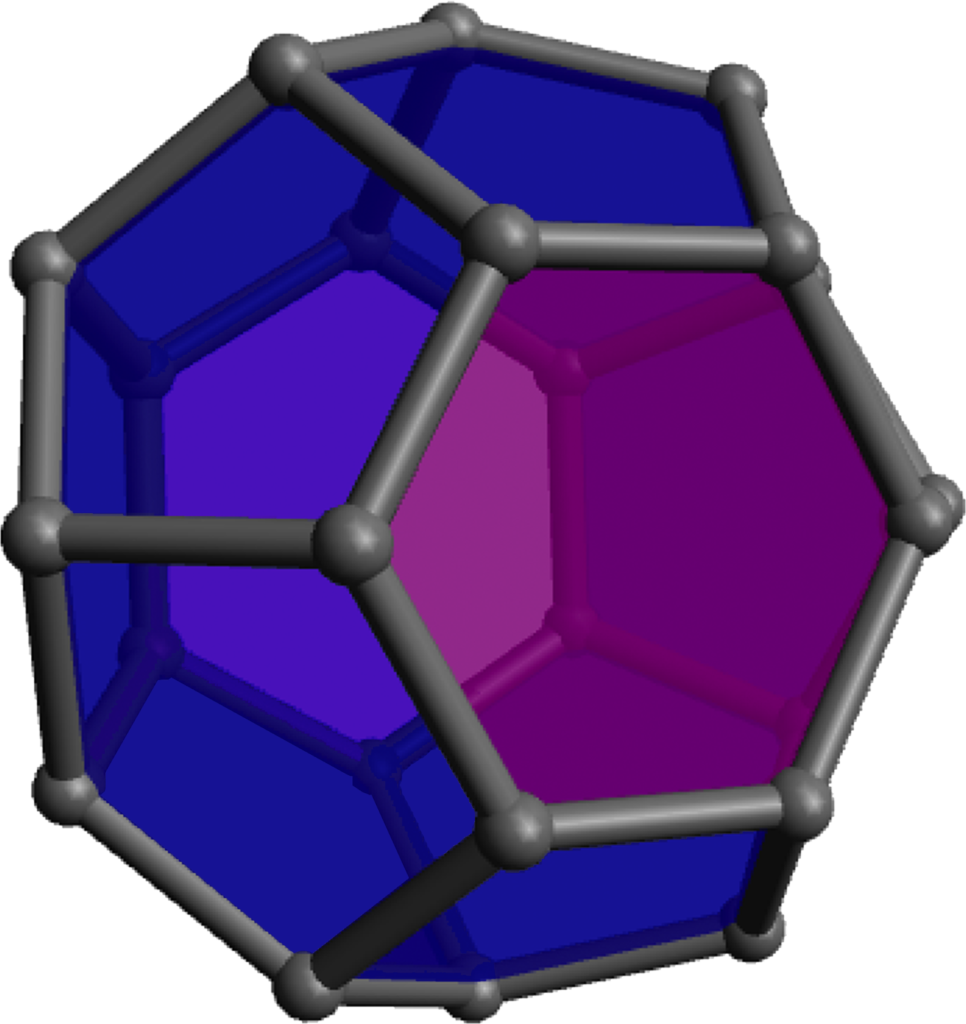 | 2 hexagons on opposite sides |
| 3 | 39 |  |  | 3 hexagons opposite from each other, forming a triangle |
|
| 4 | Truncated Triakis Tetrahedron | 42 |  | 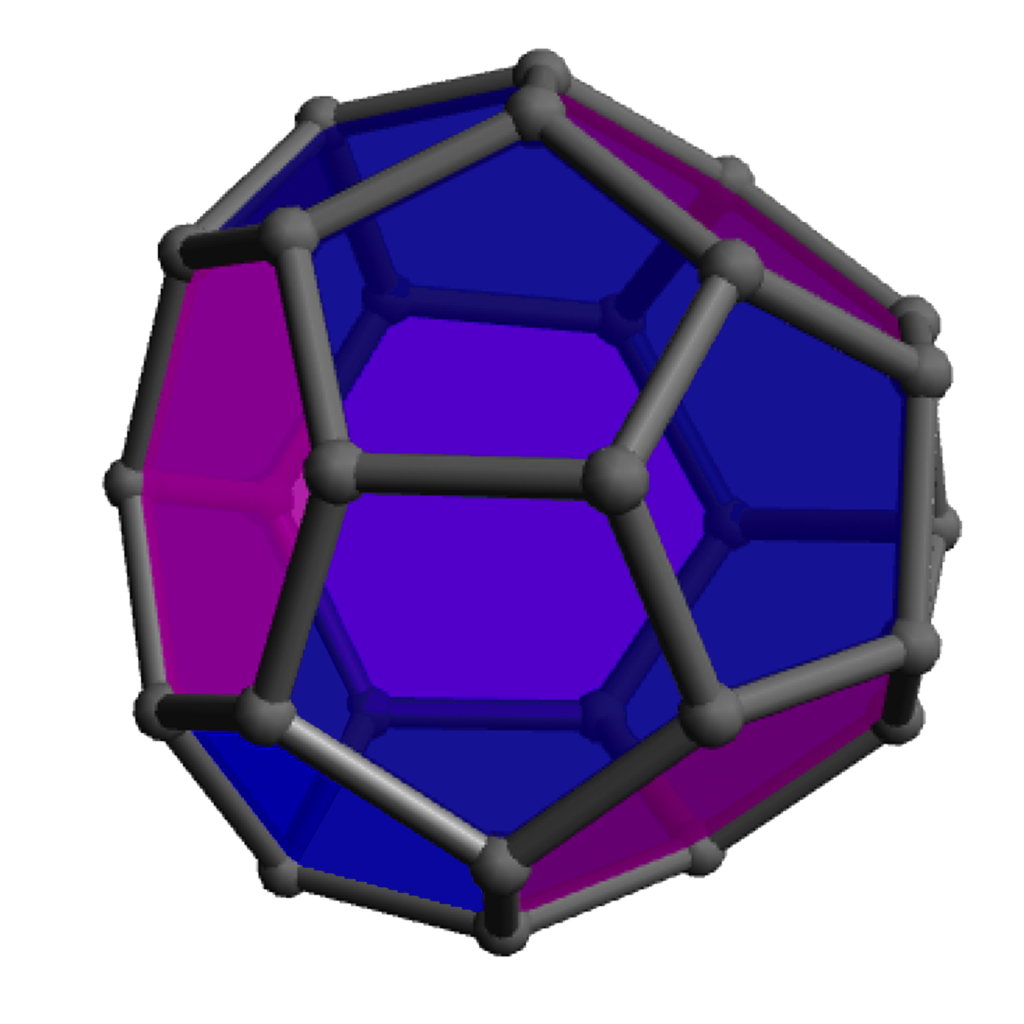 | 4 separate hexagons surrounded by 6 pentagons each |
| 5 | 45 |  | 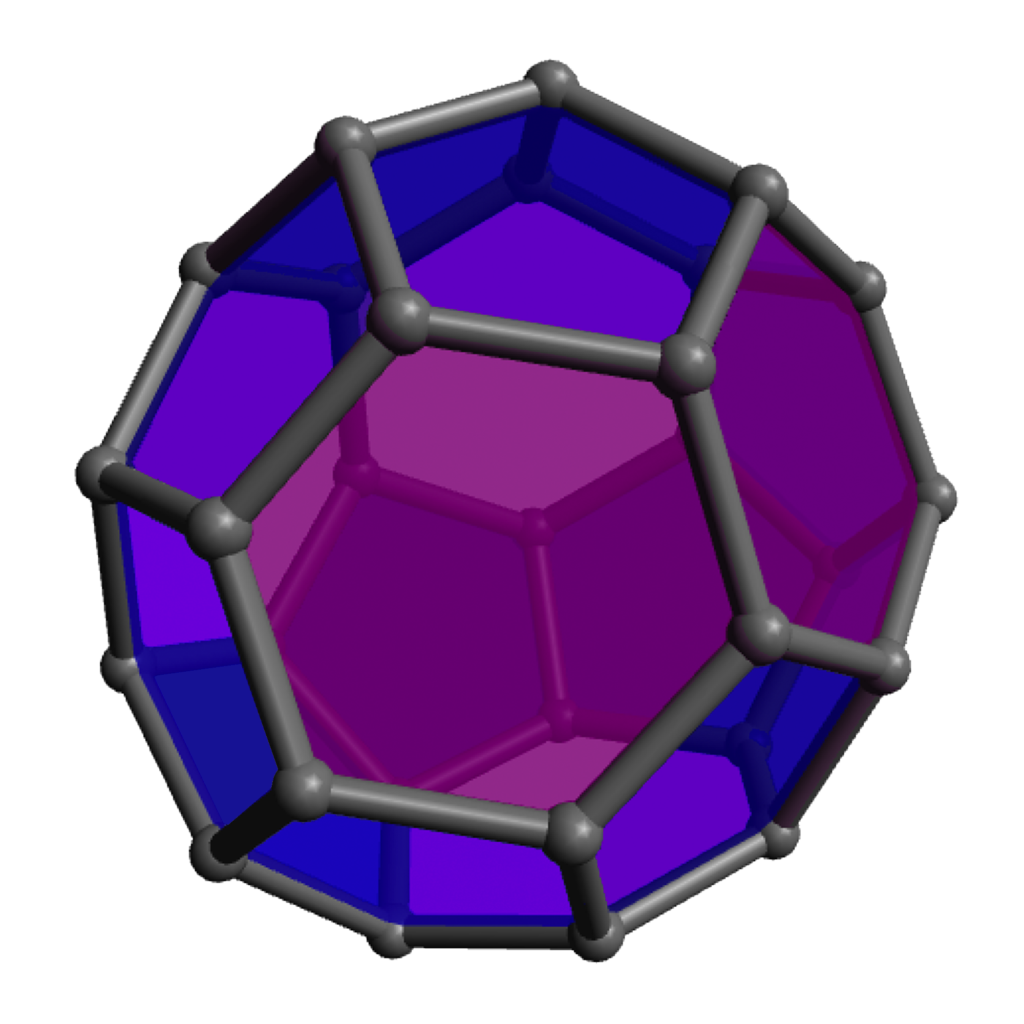 | 2 pairs of opposing hexagons with 1 extra separate hexagon |
|
| 6 | 48 |  | 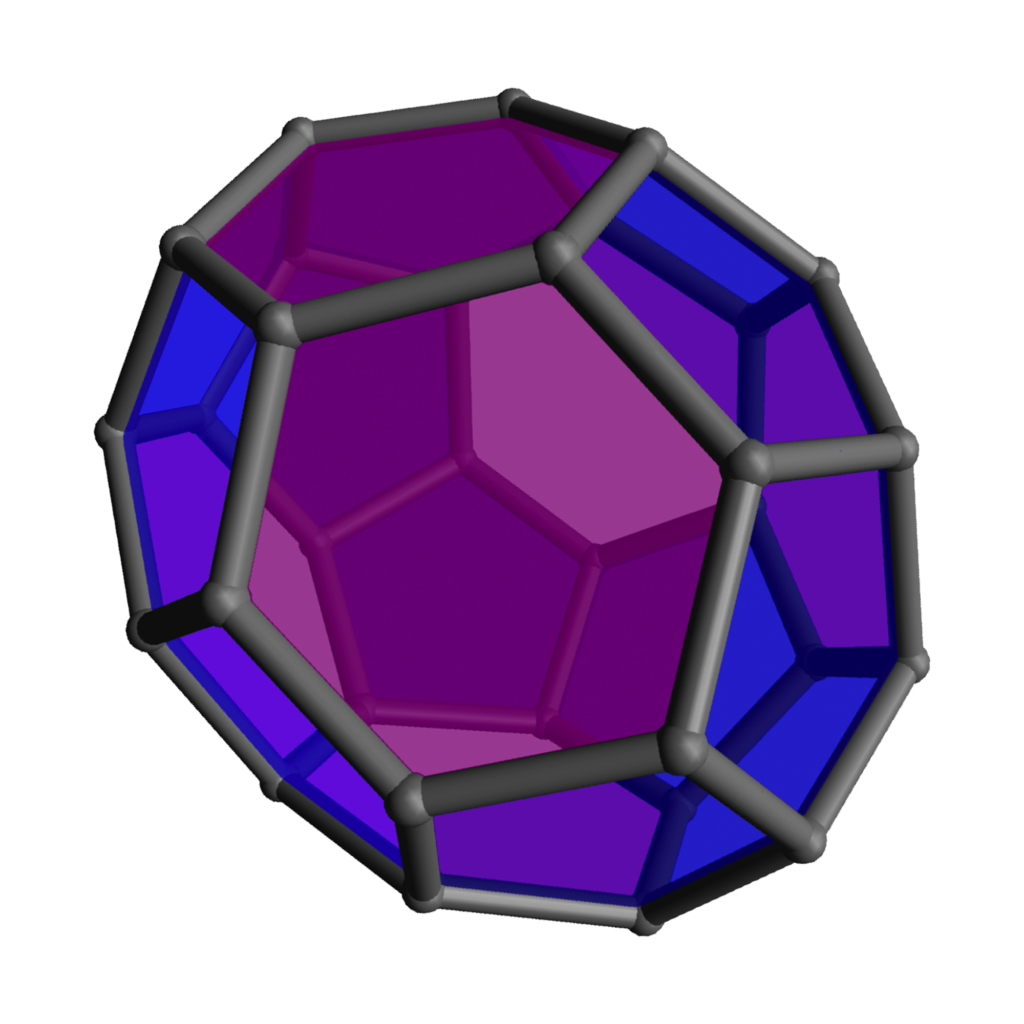 | 3 pairs of opposing hexagons | |
| 8 | Elongated Hexagonal Truncated Trapezohedron | 54 |  | 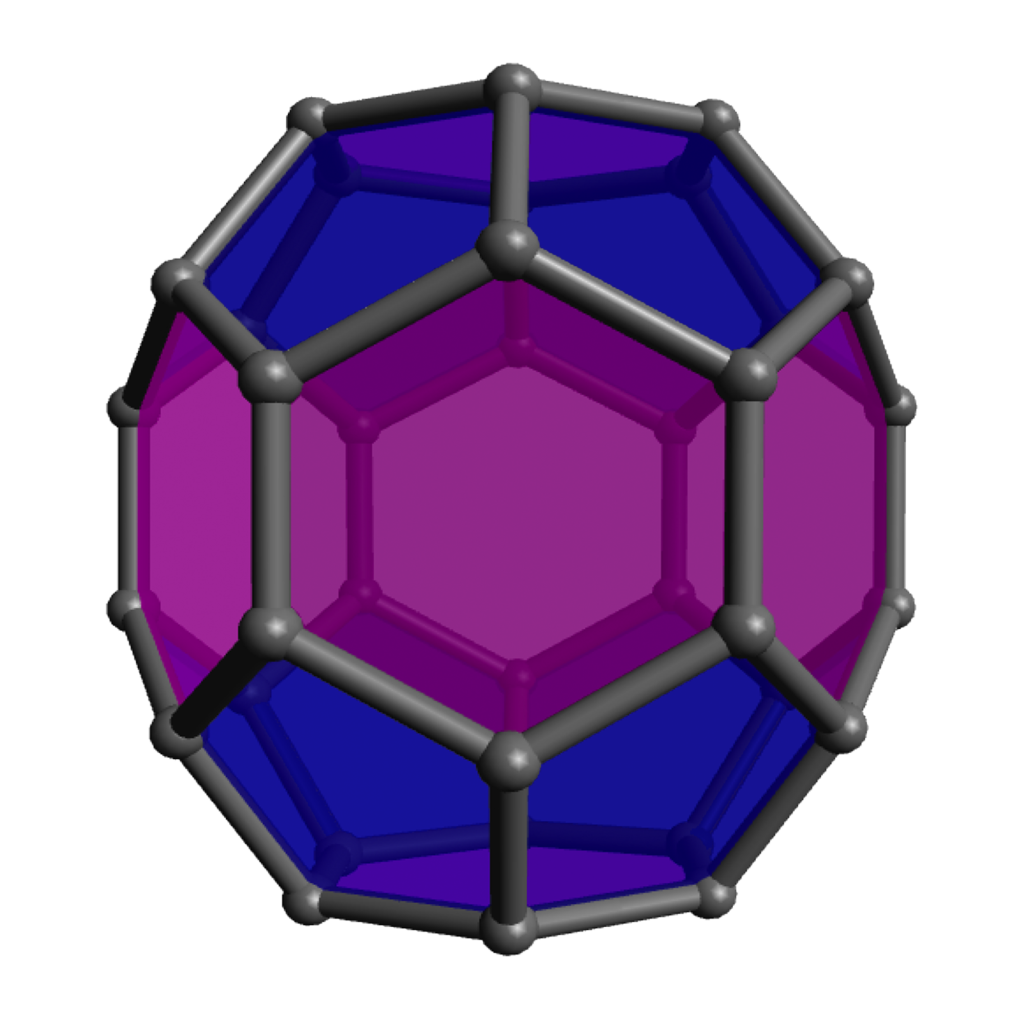 | A center ring of 6 hexagons with two hexagons on opposite ends |
| 9 | 57 |  | 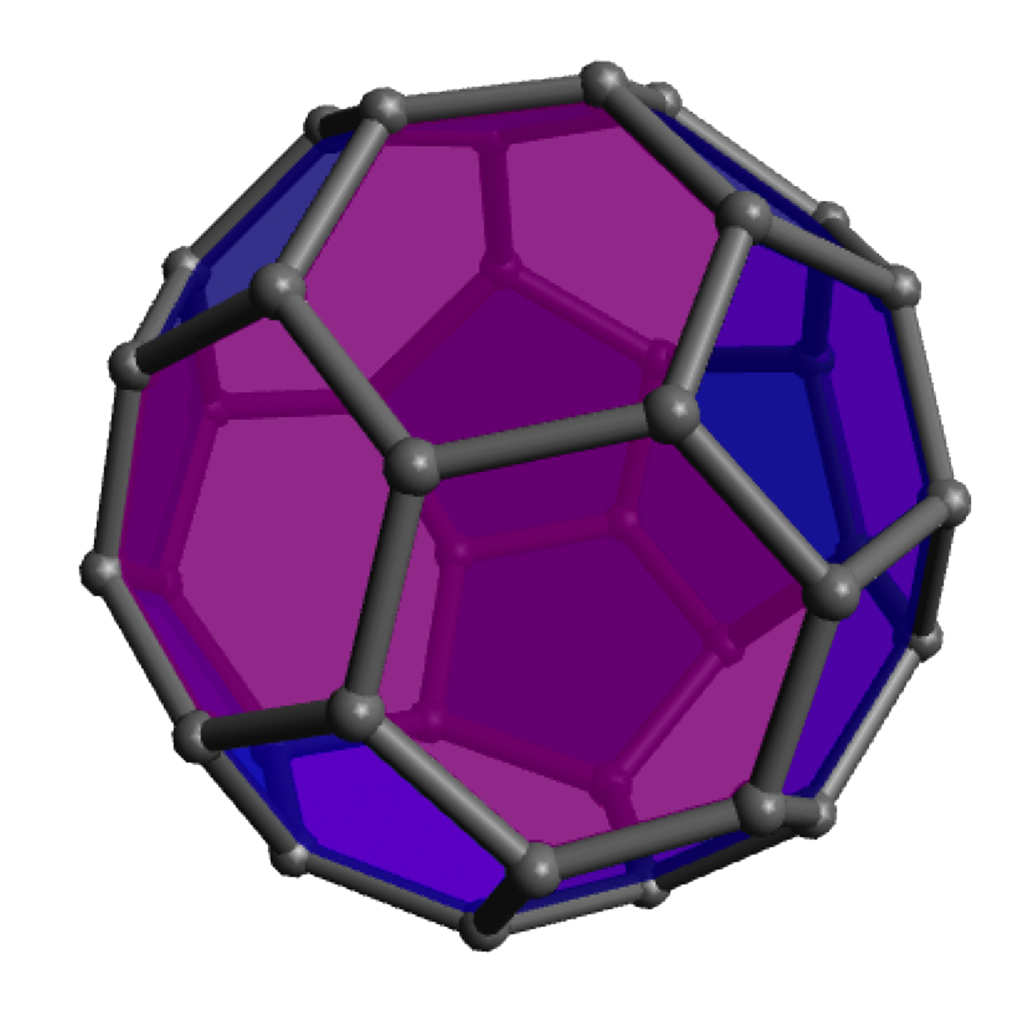 | A circle of 6 hexagons opposite from 3 connecting hexagons |
|
| 15 | 75 |  |  | 5 pairs of pentagons with 2 opposing pentagons |
|
| 16 | 78 |  | 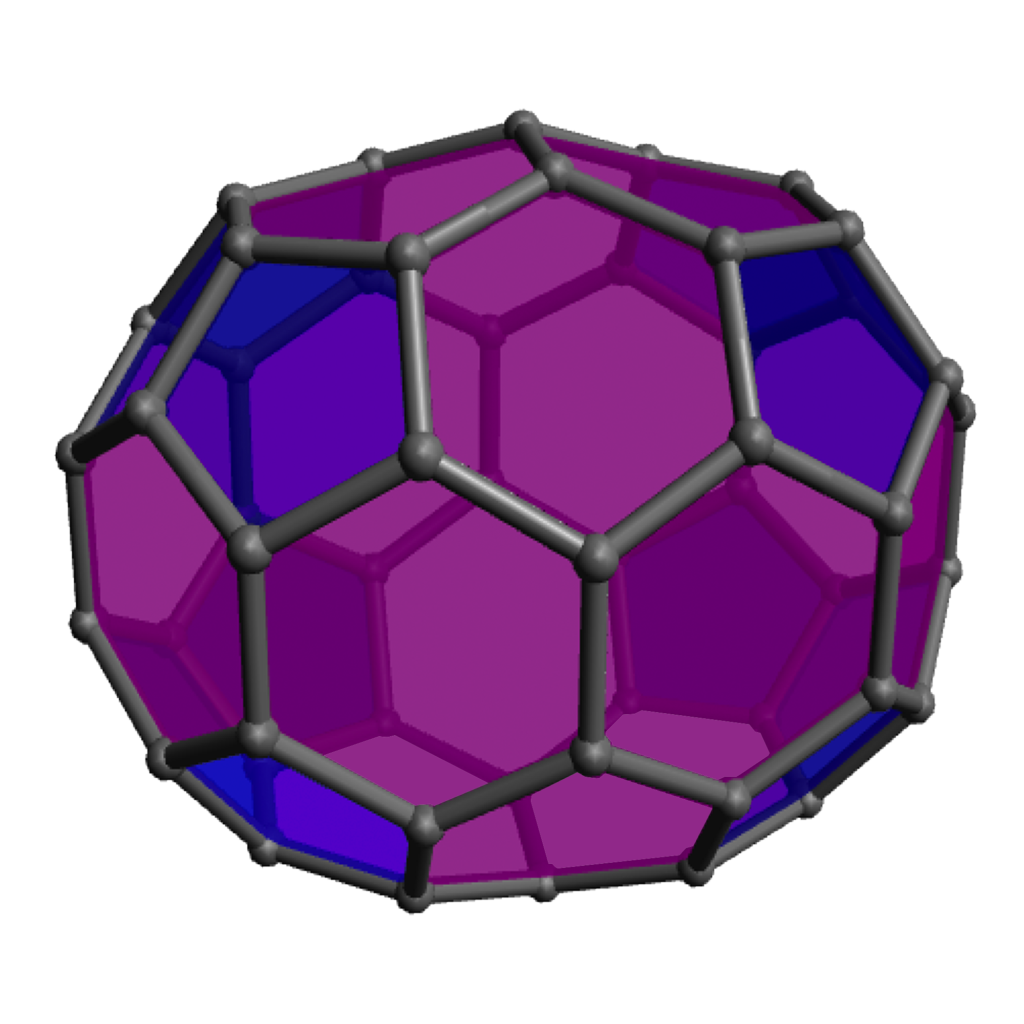 | 4 groups of 3 pentagons surrounded by hexagons |
|
| 20 | Truncated Icosahedron ("soccerball") | 90 |  | 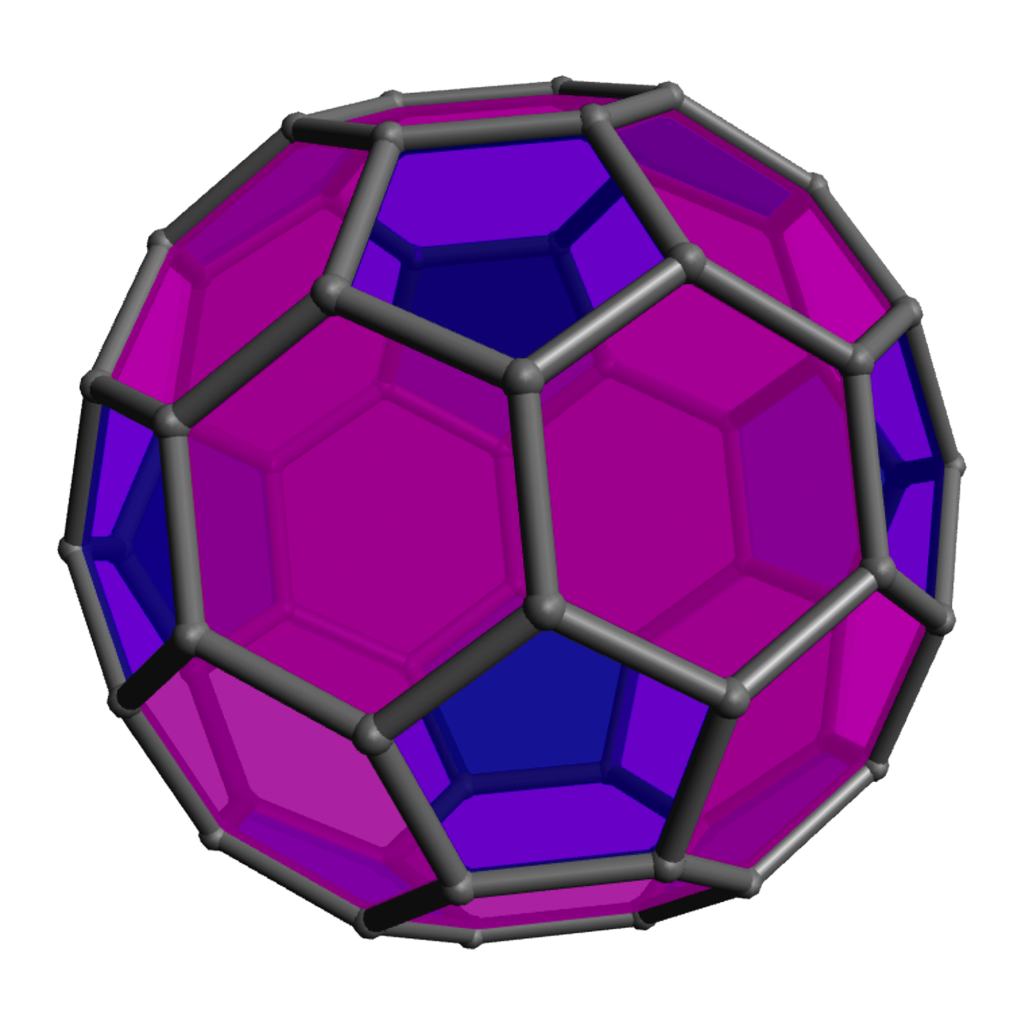 | All pentagons separate and surrounded by 5 hexagons each |
Separate your individual pieces
Most of the pieces you receive will still be embedded in the original sheets of material. To save time, you should pull them apart, only along the outside edges of each piece (red in the diagram below) before the session begins. They should mostly come out pretty easily, but in case any are stuck, below are a couple of hints. (Don’t worry about folding any of the pieces or anything, we’ll go over that together during the event.)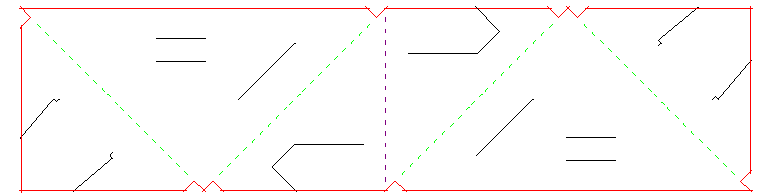
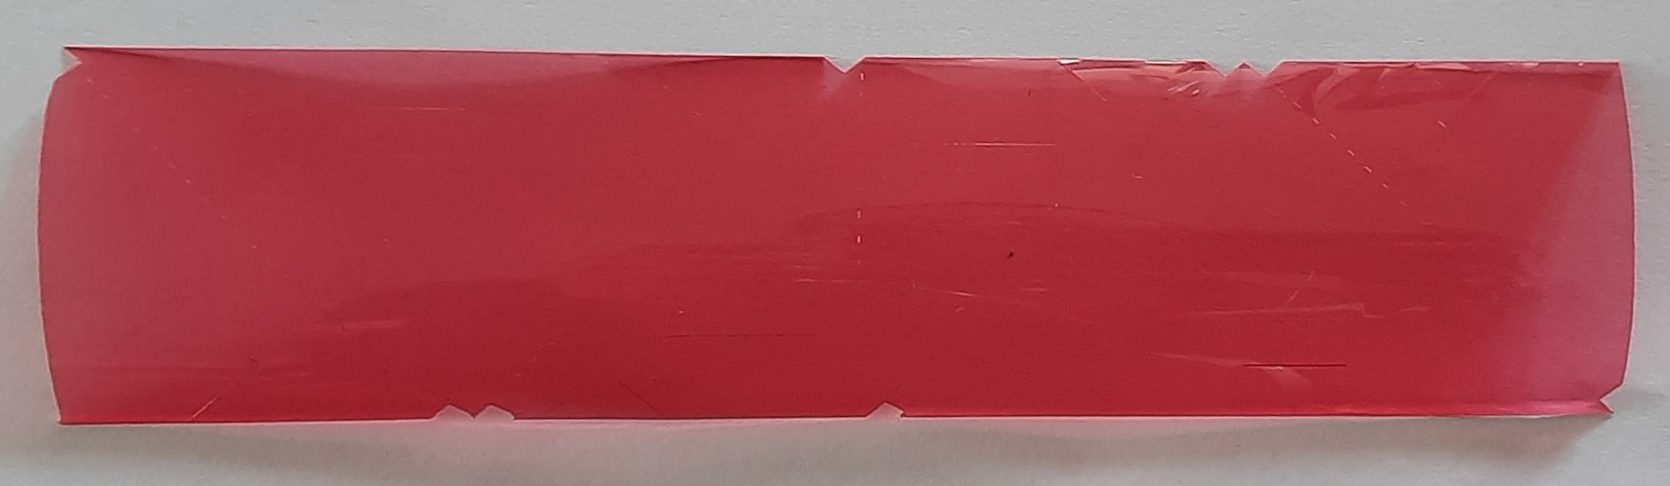
- Pre-fold along an outside edge to make it easier to separate. This works best when you fold away from you (i.e., make a mountain fold) when you are looking at what I will call the “cut side.” That’s the side where the piece looks as in the diagram, with corner tabs pointing down to the left and up to the right. Note that the sheet tends to curl away from you when you look at the cut side, because of the material originally being on rolls. Also if you drag your fingernail across a cut on the cut side it will likely “catch” just a little bit, unlike on the other side. Here’s a photo of a single separated piece, cut side up.
- The longer straight sections are generally easier to separate, so do them first. Then you can break any of the small triangular indentations either by pulling the two sides straight apart, or by carefully pushing one side of the cut up and the other side down with your fingernails.
If you need your own pieces
If we were unfortunately not able to supply you with pieces but you’d like to participate in this building event, there are a couple of ways you can make your own pieces prior to the event. You can use any easily cuttable/foldable sheet material: cardstock, paper (somewhat heavier is better), Tyvek, etc. If you’re going this route, definitely choose your target polyhedron first and make only the pieces you need, plus a couple of spares just in case.
Option 1: Print copies of the diagram above onto your material, and carefully cut out each piece along the red lines, and also cut along all of the black lines. (Note that some of the black cuts are just slits in the middle of the material, so to make those you will either have to puncture somewhere along the cut line, or use the “pinch and snip” technique to get the slit started. Also, you may not be able to exactly follow the tiny bends at the insides of the tabs on opposite corners, but do make an effort to narrow the tabs just slightly at that spot — that’s what keeps the tab tucked in.) To assist with this method, here’s a PDF with five copies of the diagram, which should just fit centered on either a US letter-size or A4 sheet of paper.
Option 2: Put the origami back in modular origami: grab some origami paper and fold however many units you need from these instructions.
However you prepare your pieces, looking forward to seeing you on Wednesday, July 21, at 1 pm US Mountain time.