Install software
CAD/CAM for Mathematical Models will use two free/open-source software packages, which you should download and install before the class begins. The first half of the workshop will cover two-dimensional CAD/CAM using LibreCAD. In this portion, you will create a flat cut-out/scored unit for creating geometric constructions based on an existing modular origami unit. The second half will deal with three-dimensional CAD/CAM using FreeCAD. The project to serve as a learning vehicle for this section will be to create hubs that allow you to construct polyhedra using ordinary drinking straws as struts. Both software packages are available for Linux, Mac, or Windows at the links given. Then you should also do the following three things:
1. Choose a 2D target
Before Tuesday’s workshop session (Jul 20), you should select a modular origami unit you would like to model. Below is a table of some options you can consider, or you can choose any other unit you may find. Important: once you have chosen a unit, you should fold at least three copies of the unit and thoroughly familiarize yourself with how the units fit together to make coherent constructions. (If you have time, it would not hurt to make an entire small construction with the unit.)
The workshop facilitator will be modeling the Reptile Unit as an example project. So if you prefer to follow exactly what’s being demonstrated, that would be the item to pick, but you will likely get somewhat more from the exercise if you choose your own independent unit to model.
| Name | Type | Folding Instructions | Finished Unit | Examples of Assembled Structures | |
|---|---|---|---|---|---|
| Sonobe Unit | Edge | Make Origami |  |  |  |
| 135° Unit | Open Frame | Owrigami |  |  |  |
| Simple Isosceles Triangle Unit | Stellated | Origami Heaven |  |  | 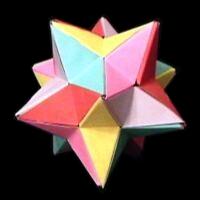 |
| Penultimate Module | Open Frame | WikiHow |  |  |  |
| Pentagon & Hexagon Units | Face | Wayback Machines (click pages 1,2, & 3 links at the bottom) |  |  |  |
| Reptile Module | Face | Origami Heaven |  |  | |
| Double Pocket Equilateral Triangle Units | Concave | Unit Origami by Tomoke Fusé (see pages 126-131 | 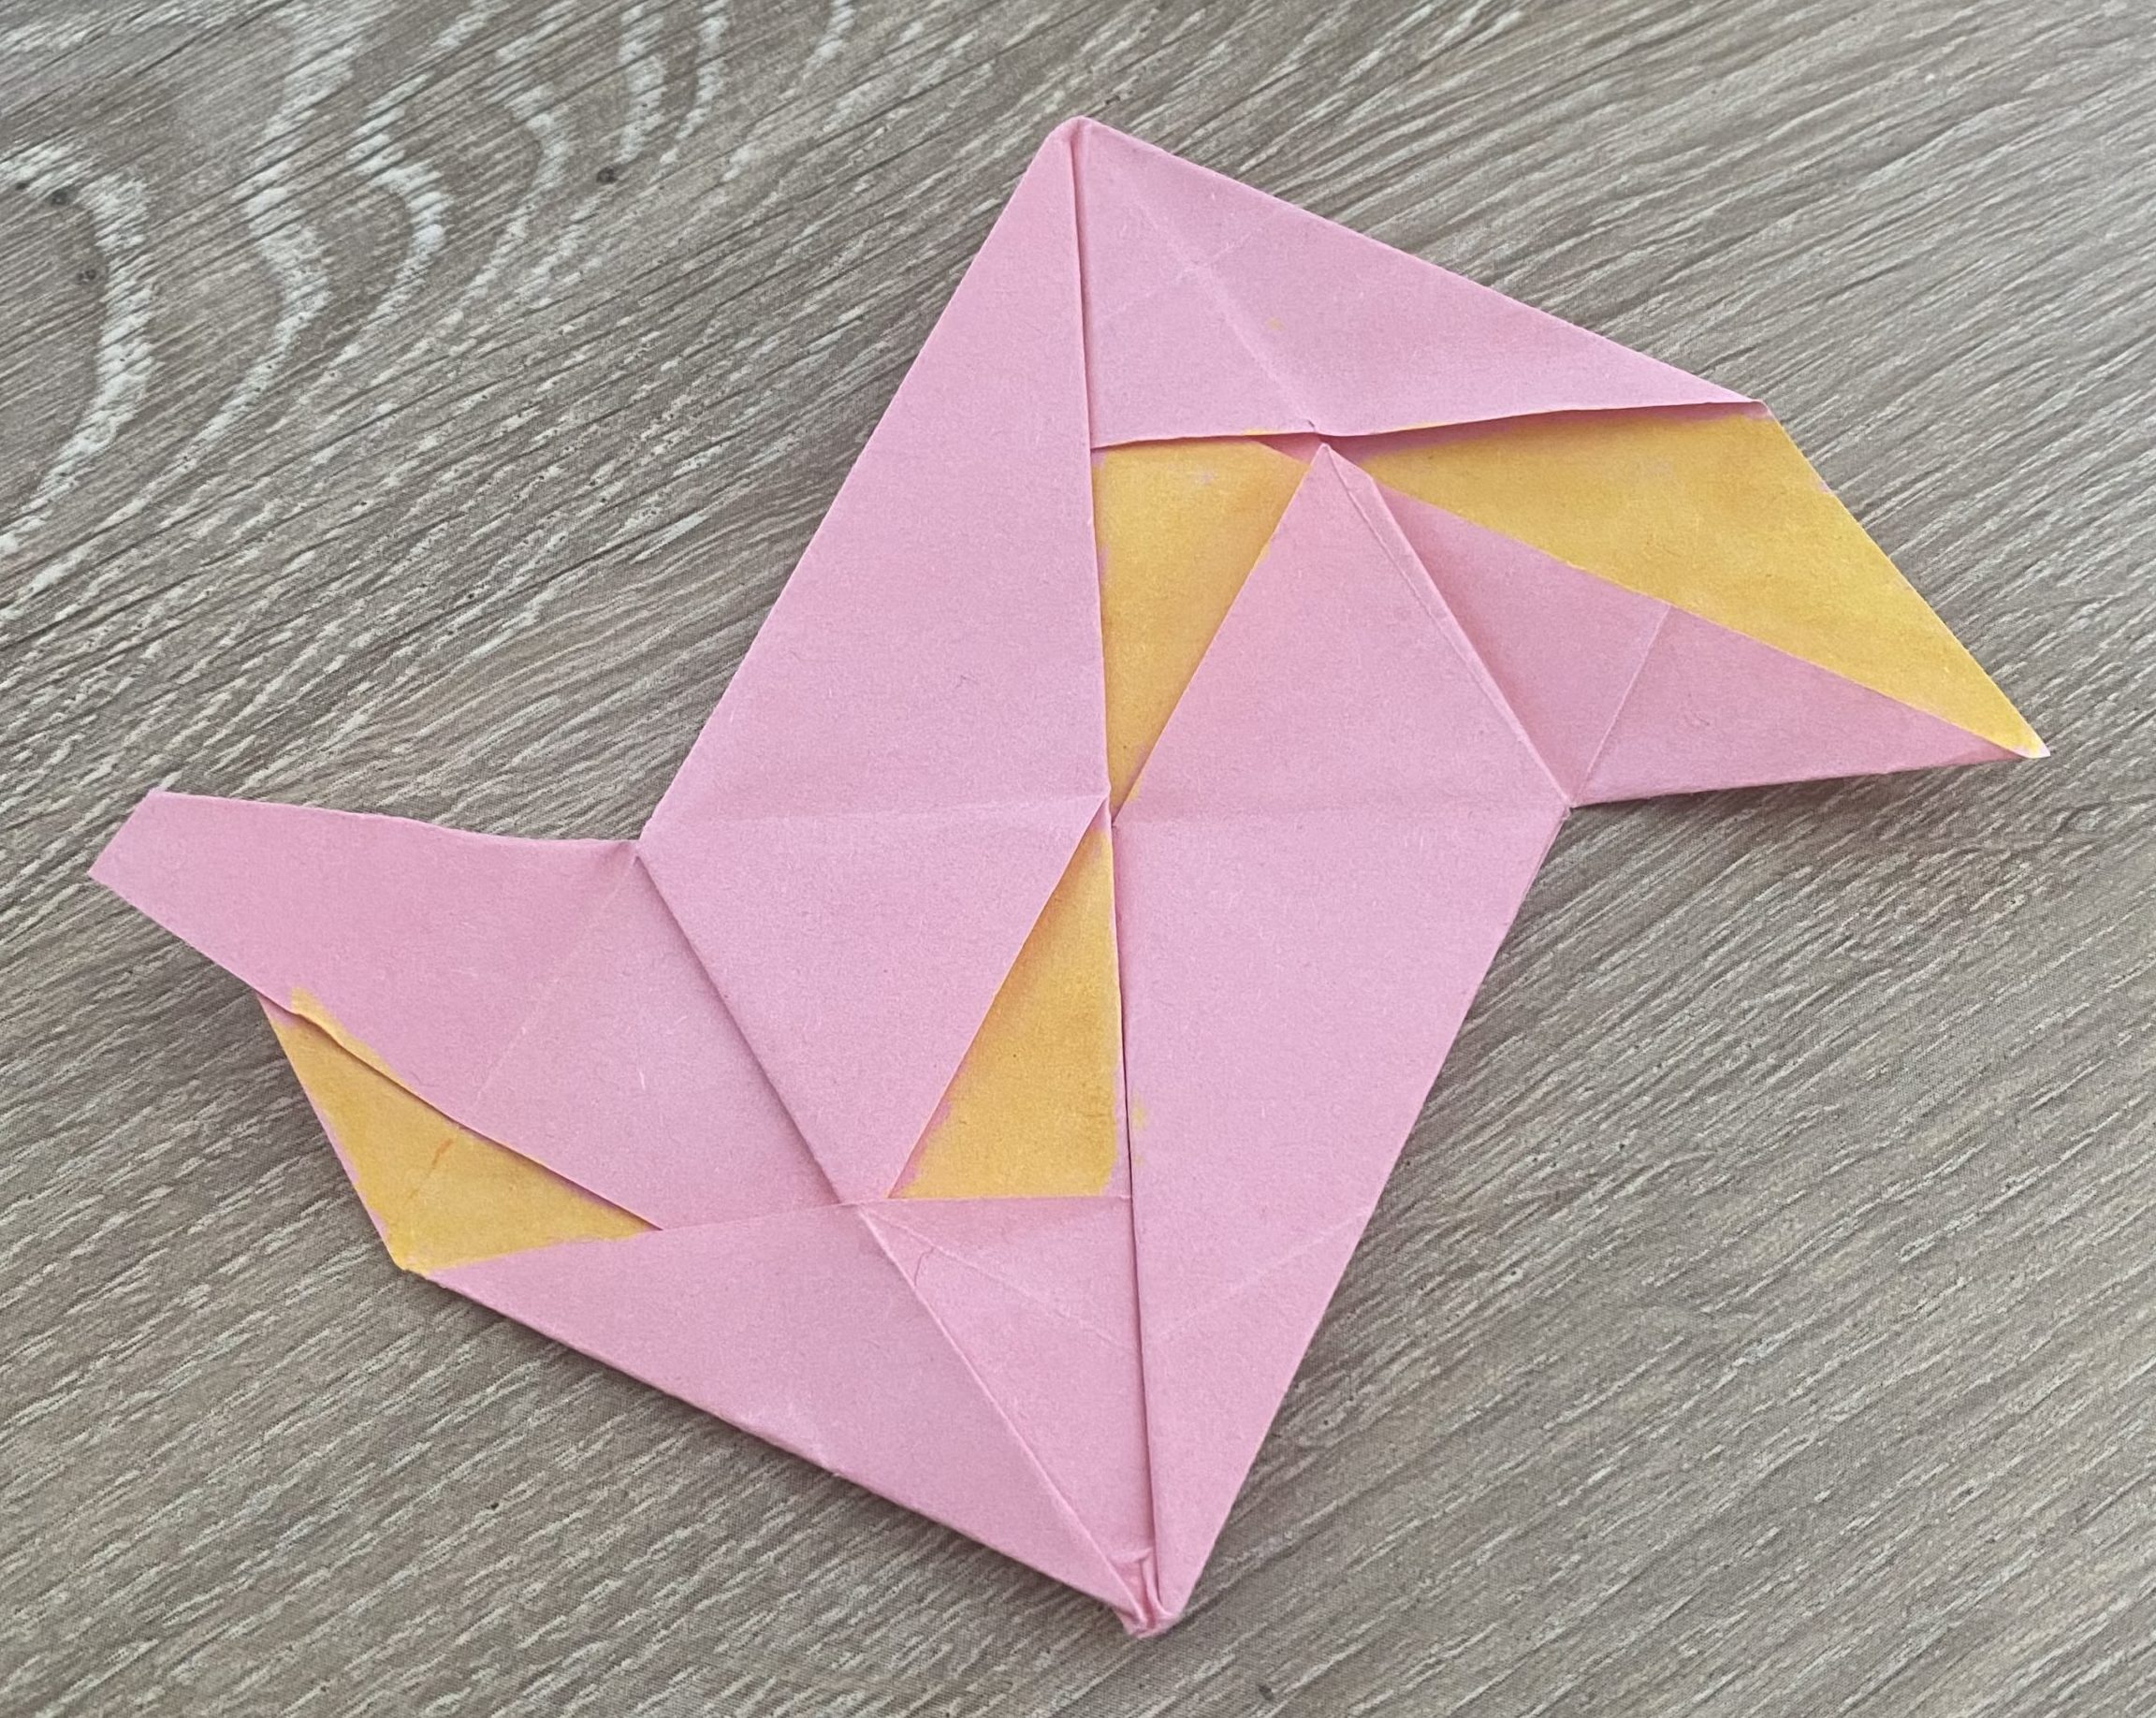 | 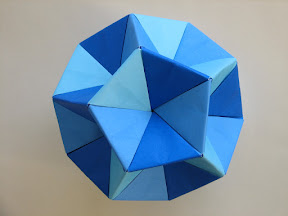 | |
The very prolific Tomoko Fusè has additional books on modular origami that you could also consult, for example Unit Polyhedron Origami, which someone has posted online.
2. Choose a 3D target
Before Thursday’s session (July 22), you should choose one or two polyhedra you would like to create frameworks of. There will definitely not be time for more than two polyhedra. Since time permitting we will enhance the hubs to allow the polyhedra to connect (magnetically) along edges, I strongly recommend you choose a space-filling polyhedron or a pair of polyhedra that fill space together. There is a table below with some options, but again, you may model any polyhedron or pair of polyhedra of your choice.
Once you have chosen your polyhedra, you should look up or calculate all of the vertex angles of faces of your polyhedra, and all dihedral angles of your polyhedra, and determine how many vertex figures your polyhedra have. The workshop facilitator will be modeling the two golden rhomboids, and the same caveats about that as in the 2D case apply.
| Polyhedron | Image | Fills space with... | Image |
|---|---|---|---|
| Regular Octahedron |  | Regular Tetrahedron | 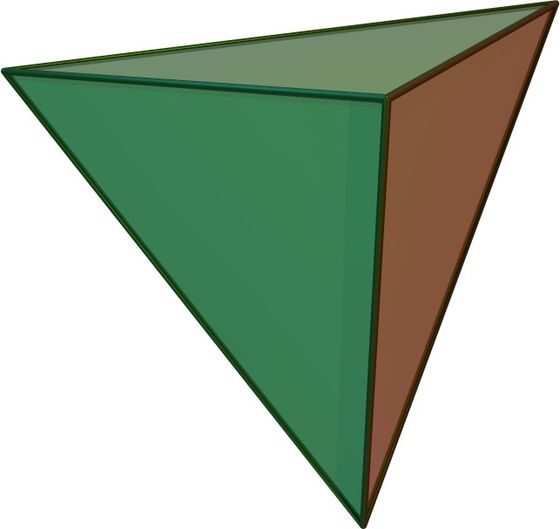 |
| Acute Golden Rhomboid |  | Obtuse Golden Rhomboid |  |
| Rhombic Dodecahedron |  | (by itself) | |
| Stellated Rhombic Dodecahedron |  | (by itself) | |
| Alternated Truncated Octahedron | 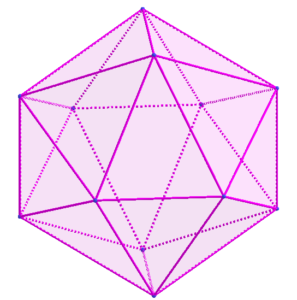 | Disphenoid (tetrahedron) |  |
3. Choose a hub diameter
The hubs we will create in the second half of the workshop are designed to connect drinking straws into a framework of the polyhedron you have chosen. If you have or can obtain before the workshop some drinking straws, carefully measure the inside diameter of your straws (preferably with calipers if possible) and use that as the diameter of the prongs of the hub. If not, the straws I will be using have an inside diameter of 7.2mm, and you can use that dimension (regardless of what polyhedra you choose).